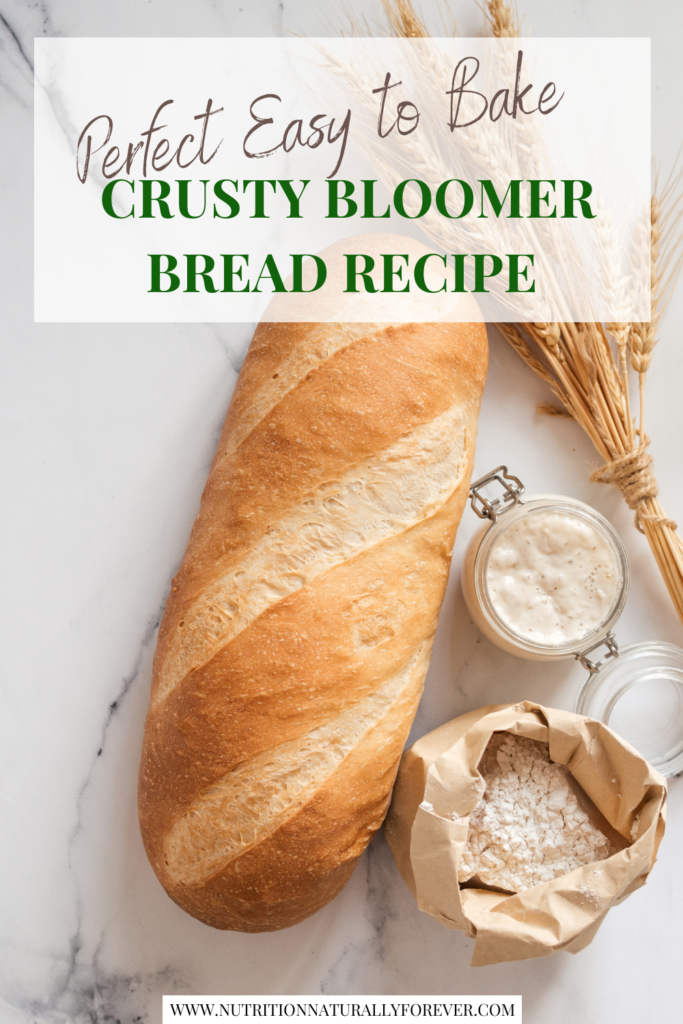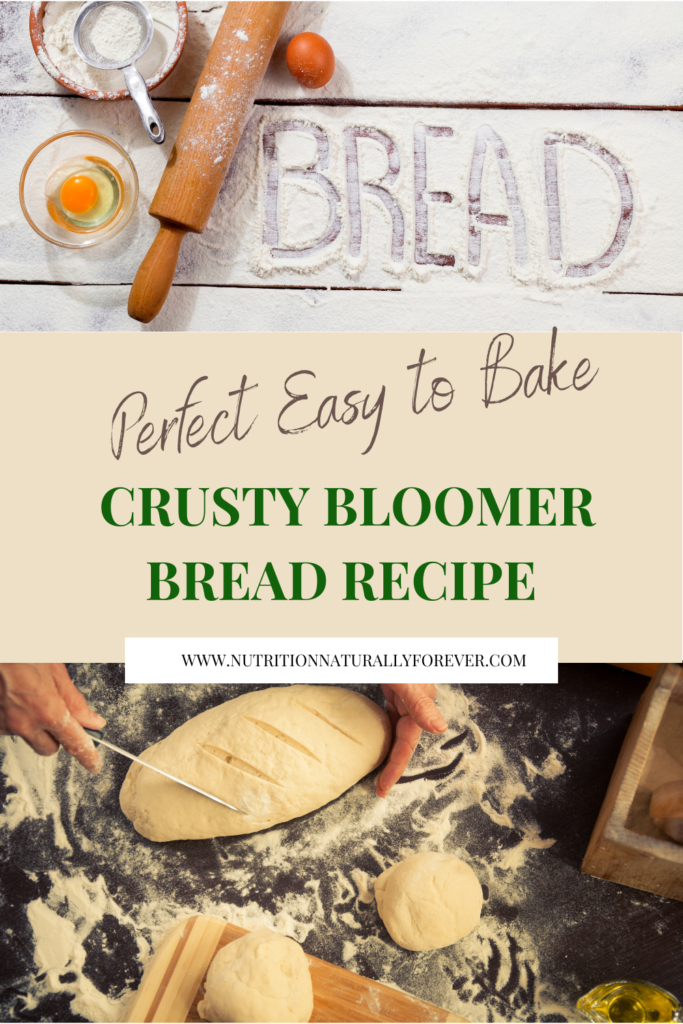
Perfect Easy to Bake Crusty Bloomer Bread Recipe.
Food can be a minefield.
Many of us have used it as a tool to manipulate our body rather than nourish it.
Learning to un-diet but still be mindful of health and body composition goals during menopause can feel daunting.
My goal is to empower menopausal women by providing them with recipes that prioritise real, whole ingredients over processed alternatives.
In my programs, I use the SHIFT System to focus on reducing inflammation and supporting liver and gut health as these factors play a crucial role in alleviating menopause symptoms and promoting long-term wellness.
By steering away from ultra-processed foods and embracing wholesome, nutrient-dense ingredients, you can nourish your body from within, fostering vitality and mitigating the intensity of debilitating menopause symptoms.
Each week I am going to share a recipe to introduce you to seasonal ingredients, nourishing your body with your menstrual cycle or the moon cycle if you don’t have a cycle and celebrate the Wheel of the Year.
My hope is you begin to enjoy nourishing your body and feel the positive effects whilst also connecting to the wider world around you.
Make sure you don’t miss a week by signing up to my email list and receiving a weekly blog post notification if you haven’t already.
Let’s Start With A Bloomer Bread Recipe
For my first recipe, in honour of Real Bread Week 2024, I want to share a simple crusty loaf.
Women seem to have a love-hate relationship with bread.
There have been so many stories in the press over the years demonising bread as the root cause of people gaining weight or not losing it.
Add menopause into the mix and you might be tempted to cut out whole food groups such as starchy carbohydrates to help you reach your health goals but is there a place for bread at the table?
What Are Carbohydrates?
Carbohydrates are sugar molecules that supply glucose to the cells of the body. They are made up of Carbon, Hydrogen and Oxygen.
Did you know that for each gram of carbohydrate in a cell it will pull in at least 3 grams of water?
You see the clue is in the name, the role of carbohydrates is to hydrate the body.
This explains why when you reduce carbohydrates in your diet such as bread you lose weight quickly, water weight!
If you want to change your body composition you need to focus on losing fat. This involves switching the body from sugar burning to fat burning which can be complicated especially if you have yo-yo dieted in the past forcing the body to hang on to its fat stores just in case.
The more sinister side of bread and poor digestive symptoms can come down to the ingredients.
Ultra-Processed Foods
Bread occupies an interesting space in the discussion of ultra-processed foods.
While bread itself can be a simple and wholesome food made from just a few basic ingredients like flour, water, yeast, and salt, many commercially available bread products can fall into the category of ultra-processed foods.
Ultra-processed foods are those that have undergone extensive processing and contain additives like preservatives, artificial flavours, colours, and sweeteners.
These foods often contain little to no whole, recognisable ingredients and tend to be high in unhealthy fats, sugars, and refined carbohydrates.
Here’s how bread fits into this spectrum:
Traditional Homemade Bread: When made from scratch using simple, whole ingredients like whole wheat or whole grain flour, water, yeast, and salt, bread can be a nutritious staple in a balanced diet. Homemade bread allows you to control the quality of ingredients and avoid additives commonly found in commercial bread products.
Commercially Produced Bread: Many store-bought bread products, especially those labelled as “white” or “enriched” bread, often contain a long list of additives to improve shelf life, texture, and flavour. These additives can include preservatives, dough conditioners, emulsifiers, and sweeteners. While convenient, these breads may lack the nutritional benefits of whole grain varieties and may contribute to inflammation and other health issues.
Whole Grain and Artisanal Bread: On the other hand, whole-grain bread made with whole wheat, rye, or other grains can offer more nutritional value, including fibre, vitamins, and minerals. Artisanal bread made by small bakeries often follows traditional methods with minimal processing and additives, resulting in a more wholesome product.
By choosing bread made with real, minimally processed ingredients, you can enjoy the comfort and satisfaction of this staple food while supporting your overall health and well-being.
Here is the bloomer bread recipe for you to have a go at making your own.
Perfect Easy-to-Bake Crusty Bloomer Bread
This is a basic recipe for a white bloomer loaf. You could always choose to use wholemeal flour, you may need to add additional water due to the absorbency of the flour a tablespoon at a time.
Maybe try adding some oats or seeds to the top of the dough before baking to enhance the crunchy crust.
Ingredients:
- 500g strong white bread flour
- 10g salt
- 7g fast-action yeast
- 350ml lukewarm water
- 3 tbsp Olive Oil
Instructions:
- Mixing the Dough:
- In a large mixing bowl, combine the flour and salt.
- Make a well in the centre and add the yeast.
- Gradually pour in the lukewarm water and oil while stirring with a wooden spoon until a rough dough forms.
- Kneading:
- Turn the dough out onto a lightly floured surface.
- Knead the dough with the heels of your hands for about 10 minutes until it becomes smooth and elastic. You can also use a stand mixer with a dough hook attachment for this step.
- First Rise:
- Place the dough in a lightly oiled large bowl, cover with a clean kitchen towel or plastic wrap, and let it rise in a warm place, draft-free, for about 1 hour or until doubled in size.
- Shaping:
- Once the dough has risen, gently punch it down to release the air.
- Shape the dough on your work surface into a rough rectangle bloomer shape, then fold the sides towards the centre and roll it up tightly into a loaf shape.
- Second Rise:
- Place the shaped dough onto a baking tray lined with parchment paper.
- Cover with cling film and a clean tea towel to give a second rise to the shaped loaf, for another 30-45 minutes, or until it has doubled in size.
- Baking:
- Preheat your oven temperature to 220°C (425°F).
- Score the top of the loaf making diagonal slashes with a sharp knife or razor blade to allow for expansion.
- Place the loaf in the preheated oven with a roasting tray of water on the bottom shelf of the oven and bake for 25-30 minutes on the middle shelf, or until a good colour of golden brown with a crisp crust and hollow-sounding when tapped on the bottom.
- Cooling:
- Once baked, transfer the loaf to a wire rack and allow it to cool completely before slicing.
- Enjoy:
- Slice the bread and serve it warm with your favorite spreads or use it for sandwiches and toast. Enjoy the homemade goodness of this perfect crusty bloomer bread!
This recipe yields a delicious loaf of crusty bread, free from preservatives and unnecessary additives, making it a wholesome choice for menopausal women looking to nourish their bodies with real ingredients, just make sure to pair your carbs with healthy fat and protein to balance blood sugar levels.
Bread machine Bloomer Bread Recipe
I have had a bread maker for about 20 years and to be honest, it has spent most of its time in a cupboard!
However, I am so pleased I kept it and am loving experimenting with making my own bread such as naan and focaccia. If you want to invest in a bread maker but don’t know if it will be worth it have a look for a second-hand one or see if a friend has one lost in their cupboard they can lend you.
Now I am no Paul Hollywood when it comes to bread I am more of a Mary Berry cake maker but the more I practice the better I am getting.
Adapting the above recipe for a bread machine is straightforward. Here’s how you can do it:
Ingredients:
- 500g strong white bread flour
- 10g salt
- 7g fast-action dry yeast
- 350 ml water – lukewarm
- 3 tbsp Olive Oil
Instructions:
- Add Ingredients to the Bread Machine:
- Place the lukewarm water and oil into the bread machine pan.
- Add the flour on top of the water, making sure it covers the water completely.
- Sprinkle the salt on one side of the flour, away from the yeast.
- Make a small indentation in the centre of the flour (not touching the water) and add the yeast.
- Select the Dough Setting:
- Close the bread machine lid and select the dough setting. This setting will mix and knead the dough, allowing it to rise once.
- Monitor and Adjust:
- Keep an eye on the dough as it mixes. If it seems too dry or too wet, you can adjust by adding a little more water or flour, one tablespoon at a time. The result is a slightly sticky dough.
- First Rise:
- Once the dough cycle is complete, leave the dough in the bread machine pan for the first rise. It should double in size, which typically takes about 1 to 1.5 hours depending on the machine.
- Shaping:
- After the first rise, remove the risen dough from the bread machine pan and place it on a lightly floured surface.
- Shape the dough into a rough oval shape, then fold the sides towards the centre and roll it up tightly into a loaf shape.
- Second Rise:
- Place the shaped dough onto a baking tray lined with parchment paper.
- Cover with a clean kitchen towel and let it rise for another 30-45 minutes, or until it has doubled in size.
- Baking:
- Preheat your oven temperature to 220°C (425°F).
- Score the top of the loaf with a sharp knife or razor blade to allow for expansion.
- Place the loaf in the preheated oven with a roasting tray of water on the bottom shelf of the oven and bake for 25-30 minutes, or until a good colour of golden brown with a crisp crust and hollow-sounding when tapped on the bottom.
- Cooling and Enjoyment:
- Once baked, transfer the freshly baked loaf to a wire rack and allow it to cool completely before slicing.
- Slice the bread and serve it warm with your favourite spreads or use it for sandwiches and toast. Enjoy the homemade goodness of this perfect crusty bloomer bread!
With these steps, you can enjoy delicious homemade bread with minimal effort using your bread machine.
What Next?
I hope you enjoy this recipe and have great success making your own bread.
If you would like to chat with me about your unique menopause transition, book a Wild Well-Being call and come away inspired and motivated to begin your journey to optimal health.
Sign up to my email list to receive blog notification posts and a weekly dose of motivation for Mind, Body and Soul. Download any of my free resources to be added to my list.

